The making of the Orthoceras plate table
|
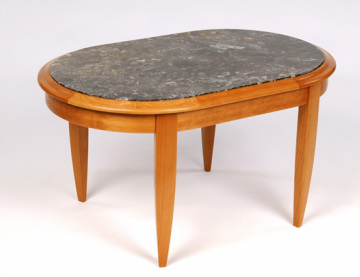
I enjoy using curves in my work as I appreciate their aesthetic and feel they are harmonious with wood.
The curves in this piece were unusually challenging as they had to fit the existing stone plate to a close tolerance, leading to a sharp curve in the aprons. 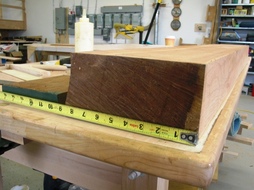
In this case I had the luxury of working with heavy (thick) lumber which I had salvaged from a fallen tree; this was pleasing to work with, having been dried slowly.
An advantage of heavy lumber is that it allows me to cut out parts so that the grain is oriented in a manner which complements the design. |
|
|
For most of my pieces, I draft a full-size drawing so that the joinery details can be clearly seen. This allows parts to be placed on the drawing to lay out joinery, which is of particular importance with curved work.
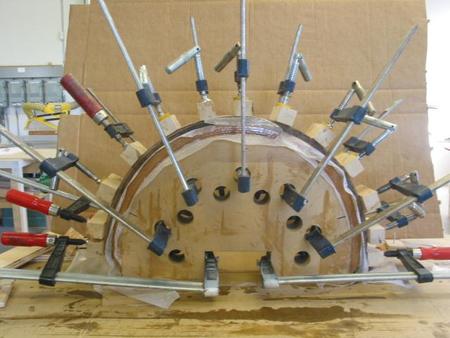
I often make curved parts by gluing up thin laminae around a form. By keeping the laminae in sequence, the grain match can be preserved. The tricky part is figuring out ho much "spring back" will occur. In this case, it was necessary to use 15 laminae to achieve the desired degree of stability! |
|
|
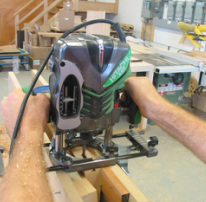
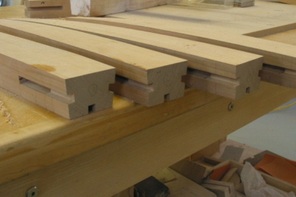
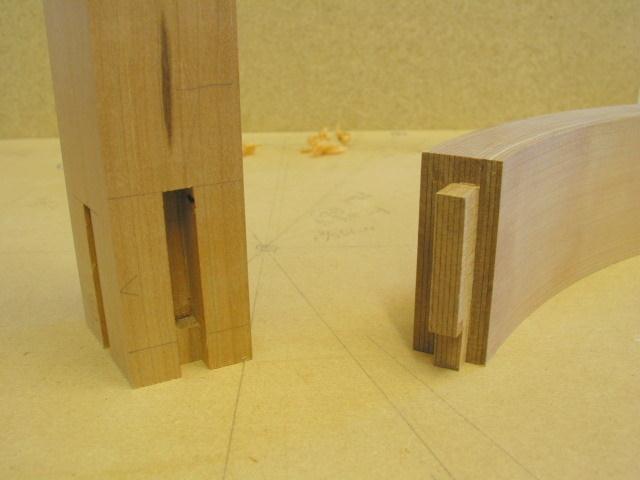
The joinery of a curved apron table is tricky due to the lack of rectilinear reference surfaces. I employ a mixture of machine and hand tool techniques to accomplish this. Typically I rout the mortises, squaring up the corners with a chisel. Shaping of the legs is performed after joinery using a band saw, hand plane and sandpaper. |
|
|
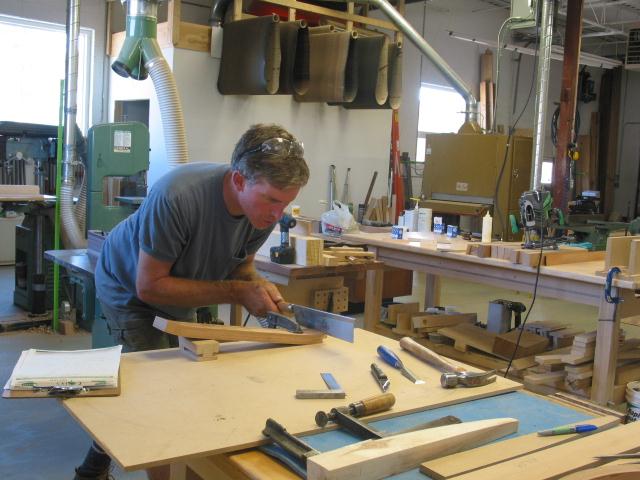
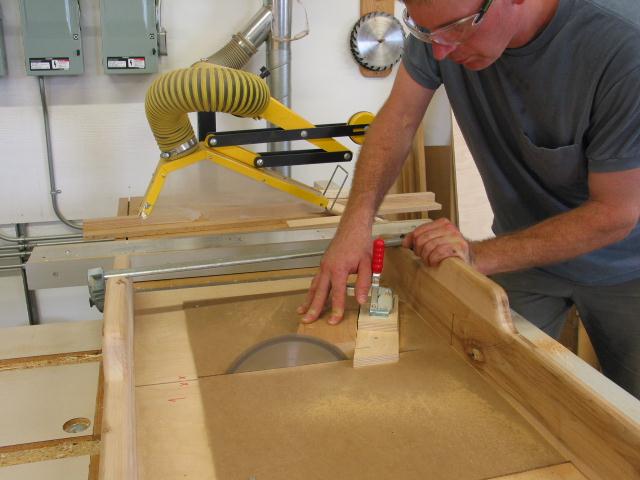
For this table, I cut the cheeks of the tenons on the table saw, and the shoulders with a dozuki saw and then fitted them with a shoulder plane. |
|
|
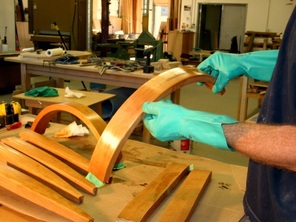
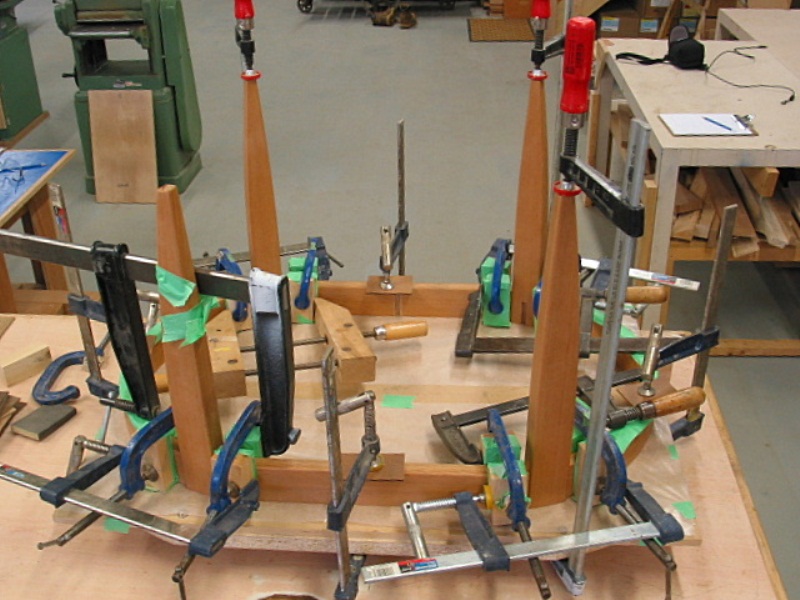
I then finish sanded and applied the first coat of oil to the pieces to make any errant glue easier to remove, taking car not to get oil on the glue surfaces! Finally, when I was confident with the "dry fit", the table was glued together. |
|
|
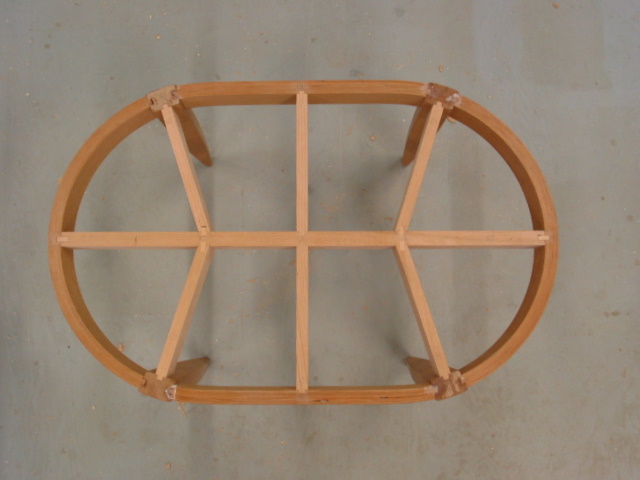
Next, I added reinforcing members to brace the legs against possible impact. The framework also provides a surface to support the considerable weight of the stone.
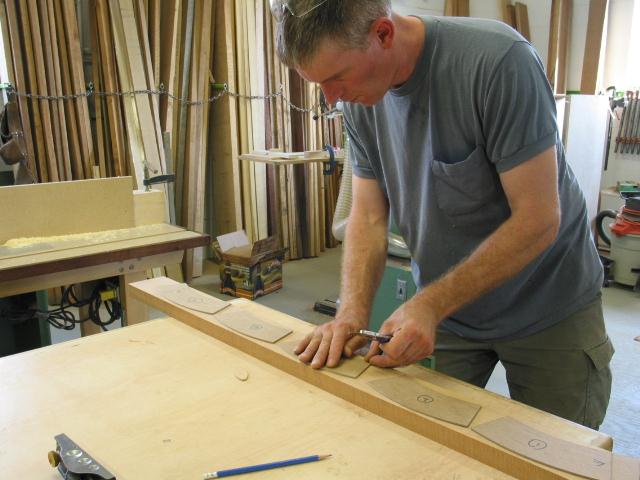
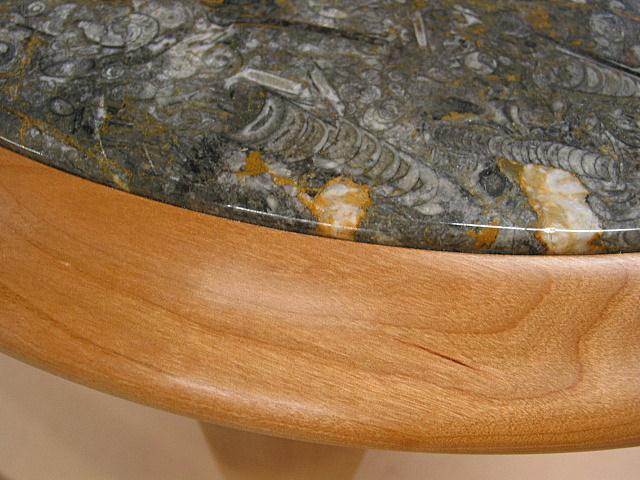
A very important element in this piece is the continuous ring of cherry surrounding the Orthoceras plate, so that the stone is set like a jewel in a cherry setting. I cut pieces from one board for uniformity of grain and colour. The angle of the edge of the plate also required careful shaping to allow it to be set into the bezel setting. Careful layout was required to achieve both accuracy and a pleasing alignment of the joints. |
|